The pipping piece I cut 2 inches and folded it in half and pressed it.
The body of the pillow (blue) I measured againist my pillow to make sure it was large enough. I made these for King size pillows and they fit perfect.
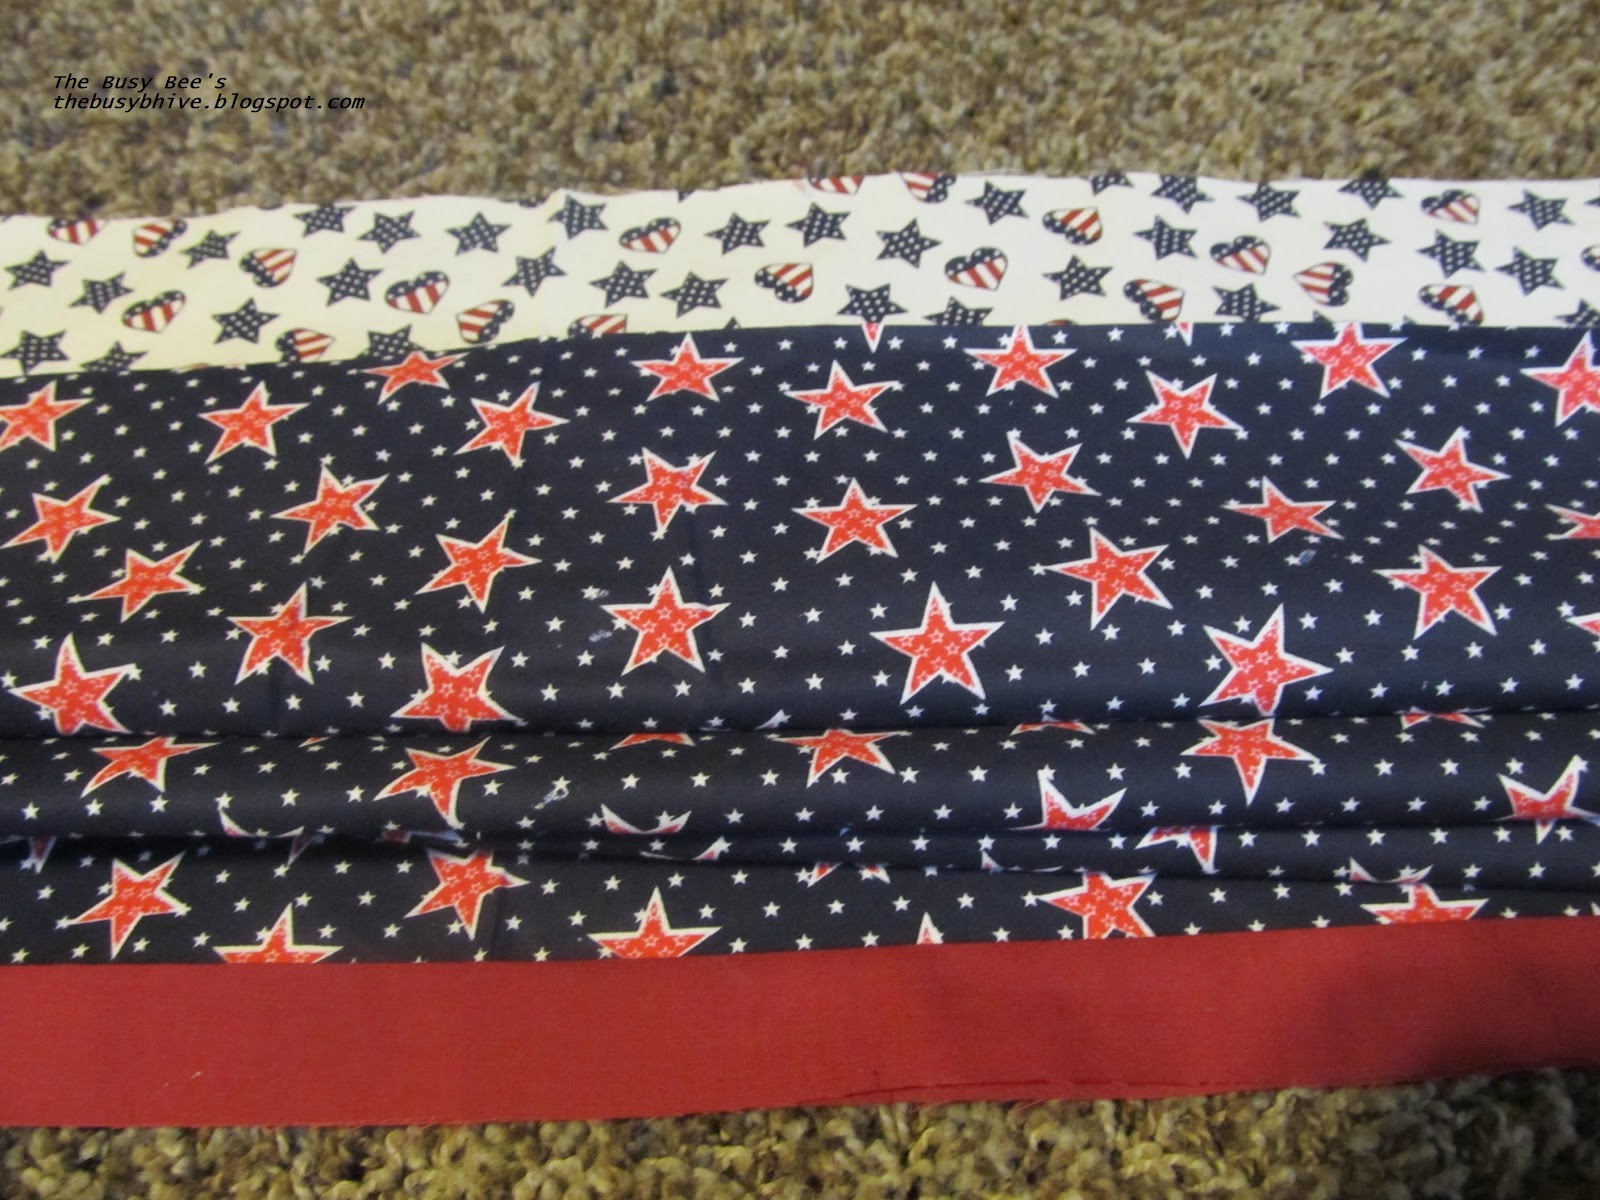
Lay your fabrics out like this, accent piece, body piece, pipping and then fold, fanning the body piece onto the center of the accent piece.
 Fold the accent piece over everything and pin it together. Starting in the center and working your way to the edges. Make sure that you line all up all your edges. There will be 5 layers of fabric to pin.
 This is what it looks like from the end just before you sew it up.
 Right off the sewing machine. Now the fun part. Pull the body out of the accent color to reveal what clean lines you just made. This is really nice because it won't fray!
 Still pulling the center out. :o)
 Look how great that turned out. This is the pillowcase waiting to be closed. Line up the edges, you may want to pin on the seam where the pipping meets the accent fabric to make sure that they line up on the side seam. Just start sewing at the accent go up the side and across the top.
Thanks for Buzzing by,

These are so cute.
ReplyDeleteDebi @ Adorned From Above
Thanks you Debi. They were really fun to pull them out of the tube. This is the first time I had did this.
DeleteThis is an awesome idea! I'd love for you to pop over and share it in Mommy Solutions!
ReplyDeleteCrystal
http://www.crystalandcomp.com/2012/09/the-mommy-club-share-your-resources-and-solutions-60/
Thank you.
DeleteWill check it out right now.
My girls just got new bedspreads, and I do not want to pay for matching pillow cases. Thanks for the tutorial, and thanks for linking up at One Creative Weekend! I can't wait to see what you link up this week.
ReplyDeleteThanks. This is the first time I made them and it was fun to see them work up. Your girls would love that, and it is easier to find the fabrics to match. Good luck on your project!
DeleteAlso, thanks for hosting. We appreciate it.
These look great! I need to have a go - I made my duvet colour and it is bright and exciting but my pillowcases are just plain boring navy blue! This tutorial would be perfect - totally pinning! Have an awesome day!
ReplyDeleteRebecca
Heronscrafts.blogspot.com
Good luck! They really were fun to make.
DeleteThanks Rebecca and have a great weekend!
:o)
These came out great. I love the fabric!! TFS!! Stopping by from Sumo's Sweet Stuff linky party & your newest follower.
ReplyDeleteHere is what I shared this week: http://craftybrooklynarmywife.blogspot.ca/2012/09/another-fur-baby-coat.html
Welcome to our newest follower, we are glad you are here!
DeleteThanks, they were really fun to make.
Your welcome, thanks for the party! Hope it was a great success!
I have made alot of pillowcases. My grandkids love them. Was just thinking I need to make them a new Christmas one. I have not used this method but have wanted to try it. Thanks for sharing with Share Your Cup.
ReplyDeleteHugs,
Jann
I hope you try it, it was really fun to pull them out of the tube to see how they turned out.
DeleteYour welcome. Thanks for hosting.
I love making pillow cases too. Haven't ever tried this method, though. These are super cute! Just hopping over from the Dedicated House linky.
ReplyDeleteIt was really fun and easy, hope you try it. Thank you.
DeleteThanks for hosting your party. We appreciate it.
Great tutorial!! Thanks so much for linking up to Tasty Thursdays on The Mandatory Mooch!! I hope you will link up again. The party will be live tonight. www.mandatorymooch.blogspot.com
ReplyDeleteThanks, Nichi
Thanks Nichi, we will be there.
Delete:o)
Wow, these are awesome! Great tutorial. I can see all the holiday ones being made. Thanks so much for linking up last week to Creative Thursday. Can’t wait to see what you have for this week’s party! Have a great week.
ReplyDeleteMichelle
Thanks Michelle. We really try.
DeleteThis is the best idea. I can't wait to try making my own. Thank you so much for sharing with Wednesdays Adorned From Above Link Party last week. This weeks Link Party is opened at
ReplyDeletehttp://www.adornedfromabove.com/2012/09/reeses-smore-brownies-and-wednesdays.html
from Wednesday until Sunday.
Hope to see you there.
Debi Bolocofsky
Adorned From Above
www.adornedfromabove.com
This is a really fun and quick project. The hardest part is finding time to do it
DeleteThanks for the invite. We are linked up.
Beautiful pillowcases!
ReplyDeleteThanks for linking to a Round Tuit!
Hope you have a fabulous weekend!
Jill @ Creating my way to Success
http://www.jembellish.blogspot.com/
Thanks Jill!
Delete